In the last post, I rambled about my thoughts regarding cloud-init vs. manual setup of my Raspberry Pis for my homelab. After a little (or maybe some more) back and forth I decided to go with the manual setup for now. I know it would be better in the long run to use cloud-init, but to get started a little faster (so without having to learn about cloud-init as well), I went with the manual setup.
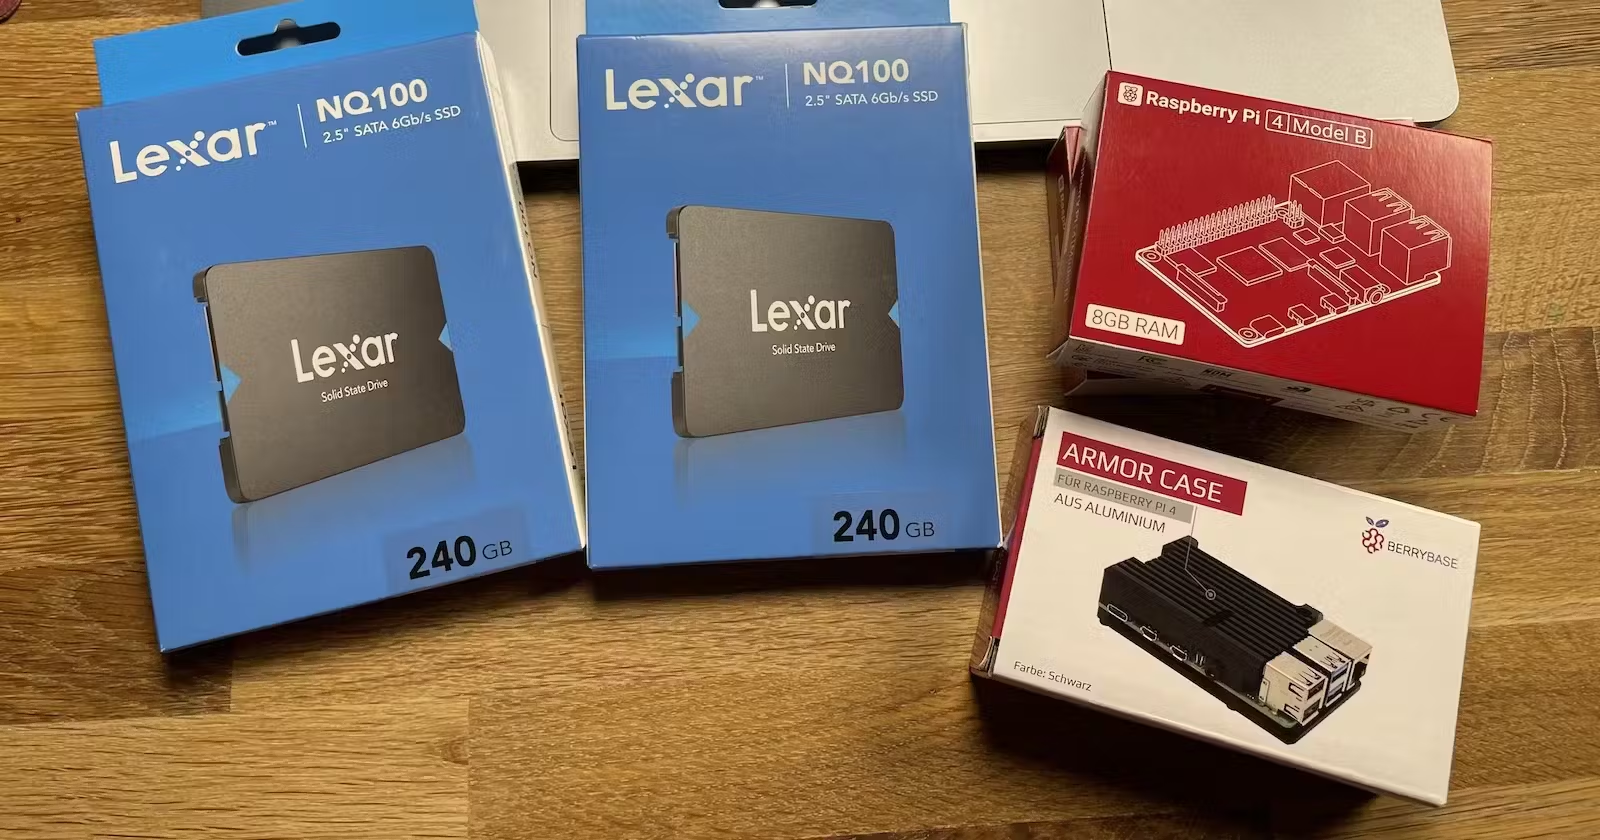
My setup includes 3 Raspberry Pis with one SSD for each of them. After a little research, it became clear to me, that microSD cards are not the way to go if you want to have a stable/long-running homelab setup. So the first step was clearing the SSDs.
Clear SSD drives
To remove all the data and partitions from the SSD, use the following commands, I used diskutil on my MacBook. I connected the SSD using a USB-SATA cable. First, we have to identify the path to our USB SSD. The command diskutil list will give us an overview of all our disks. We identify our USB SSD and copy the corresponding path (for example /dev/disk7).
Now it’s time to erase the data on the device. The diskutil zeroDisk short <path> command will, who would have thought it, write zeros to the specified device/partition. Important: Make sure to pass the correct path to the command, as it will delete all the data on it. So if /dev/disk7 is our SSD, we should run diskutil zeroDisk short /dev/disk7.
Perfect. Now let’s put the SSDs aside for a moment and enable USB boot on the Pis.
Enable USB Boot
We will use the “Raspberry Pi Imager” for this, and one other step in this process. This can also be done with other tools, but “Raspberry Pi Imager” is really easy to use.
To enable USB boot on the Pis, we have to install the USB bootloader on a microSD card. To do that, start the Raspberry Pi Imager and follow these steps:
- Choose “Raspberry Pi 4” as the device. If you are using the Pi 3, there are some other steps necessary. Check the internet for further information about that.
- Click the “Choose OS” button and select Misc Utility Images > Bootloader > USB Boot
- Click the “Choose SD card” button and select the SD card
- Flash the card!
Now the bootloader is flashed to the card. Now it’s time to bring it to the Pi.
- Insert the SD card into the Pi
- Connect the power supply to the Raspberry Pi to turn it on
- Wait until the bootloader is successfully flashed onto the Pi (indicated by the green LED light on the Raspberry Pi blinking steadily)
- Disconnect the power supply from the Pi
Our Pi is now ready to boot from USB. Awesome!
Flash the OS of choice to the SSD
Use the Raspberry Pi Imager to flash our image of choice onto the SSD. I decided to go with the “Ubuntu Server 64-bit” image because it supports cloud-init and comes with Snap support out-of-the-box. I also used the “Advanced options” to set up the hostname, Wi-Fi, and SSH information right into the image. (Side note: It uses clould-init internally. So somehow I’m using cloud-init even though I went with the manual setup.)
Boot the system
After we have flashed our image of choice onto the USB SSD just plug the SSD into the Pi and connect the power supply. After a minute we should be able to ping the Pi using the selected hostname. For example, using ping my-awesome-hostname.local
If the Pi is up and running, we want to update our OS and packages. So connect via SSH and run the following two commands:Copy
sudo apt update
sudo apt upgrade
Play it again, Sam!
Our first Pi is ready. Now repeat the process with all the other Pis we have available. 🔁
Whoop Whoop 🎉
Now everything is up and running and we can start setting up MicroK8s. But that will be another blog post. 😄 Have fun setting up your Pis.