


Learn Accessibility on iOS With Me - Grouping and labels


In the first post of this series, we got a better understanding of accessibility by navigating our apps using VoiceOver. In the second post, we talked about the out-of-the-box accessibility features that ship with SwiftUI. Now it's time to get some hands-on experience with the Accessibility API of SwiftUI.
I assume, that most of you already have existing iOS projects you are working on. That's why I decided to provide a (more or less) fully functional sample project, which will be extended with accessibility features throughout this series.
The sample project 🧐
I went back and forth on what the sample project should be. But this is some kind of tutorial, right? And I like Mastodon/the Fediverse. So I wrote a little (fake) mastodon client called "Tootorial". 🤷
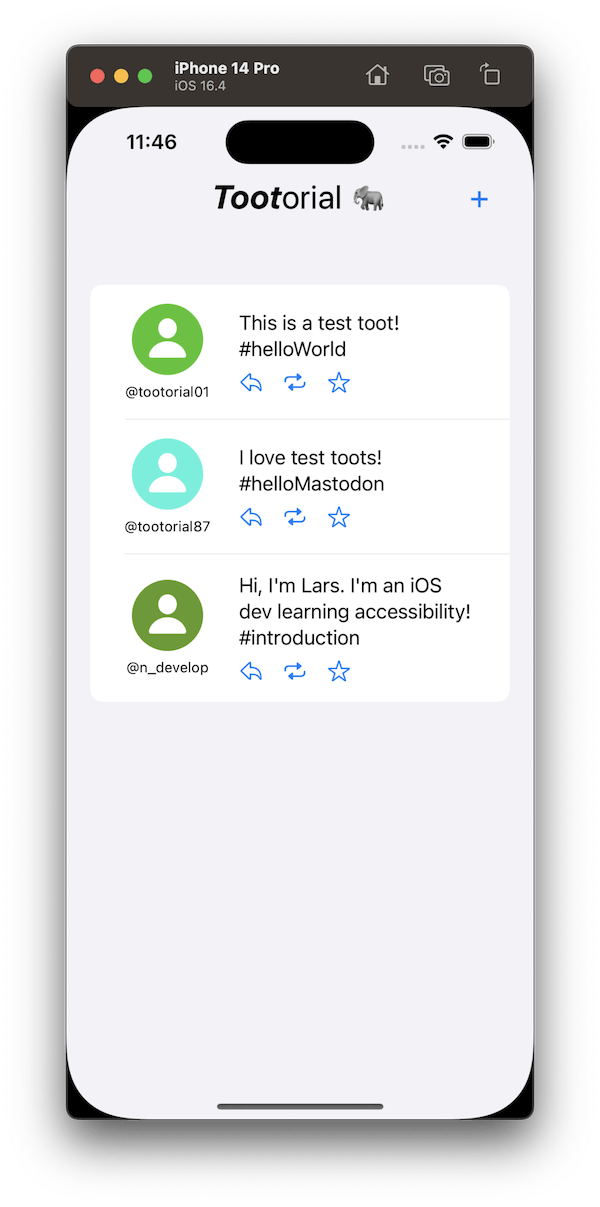
Let's have a look at the sample project we will be working on. As we want to focus on the accessibility part of the app, I decided to keep it simple and hard-coded a few toots. Of course, in a real app that data would come from the API of your mastodon instance.
The Timeline
The first screen the user will see when he/she opens the app will be his timeline. It contains the toots from the users he/she is following on the fediverse. Every toot shows an avatar and the name of the author, the text and three for the popular "reply", "boost" and "favorite" actions.
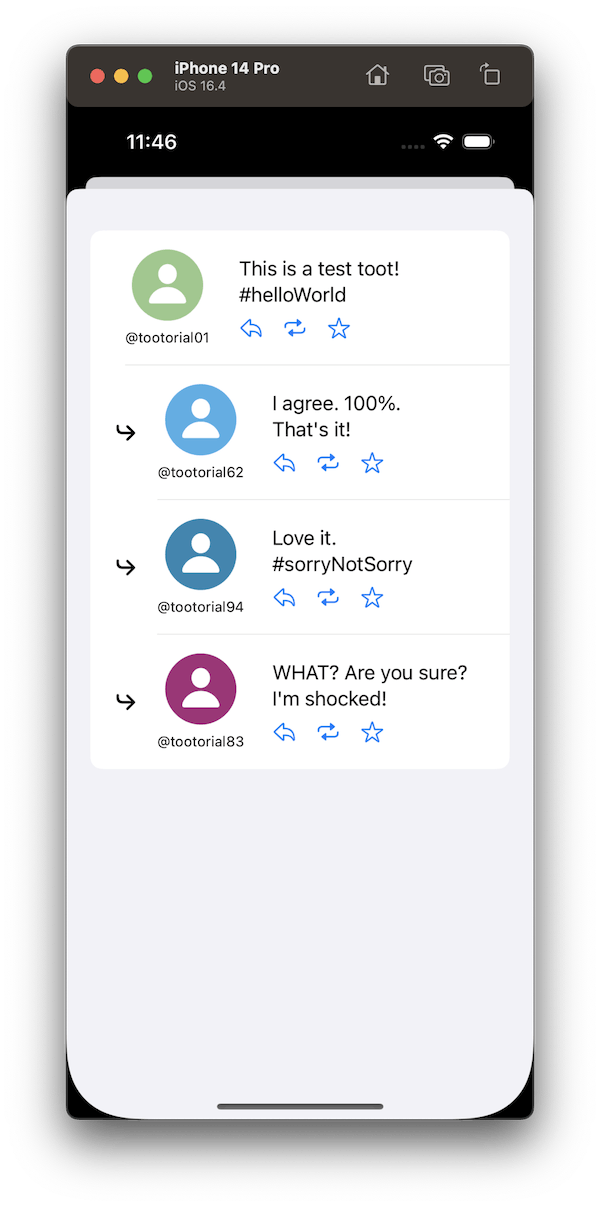
Thread View
The second screen is the thread view. If you tap a toot in the timeline, the toot and all responses to this toot are shown.
Compose a toot
And of course, by tapping on the "plus" at the top of the timeline, you can compose and send a toot.

If you are interested in the entire code, you can find it on GitHub.
The current state of accessibility
Our goal is to learn how to improve the accessibility of our app. To do that, we have to know where we stand right now. So let's start our app and enable VoiceOver. If you're feeling particularly brave today, you could also activate "Screen Curtain" once again (triple-tap with three fingers).
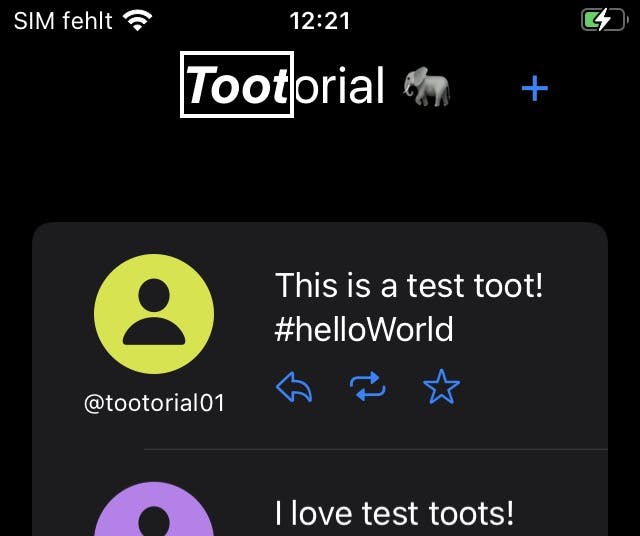
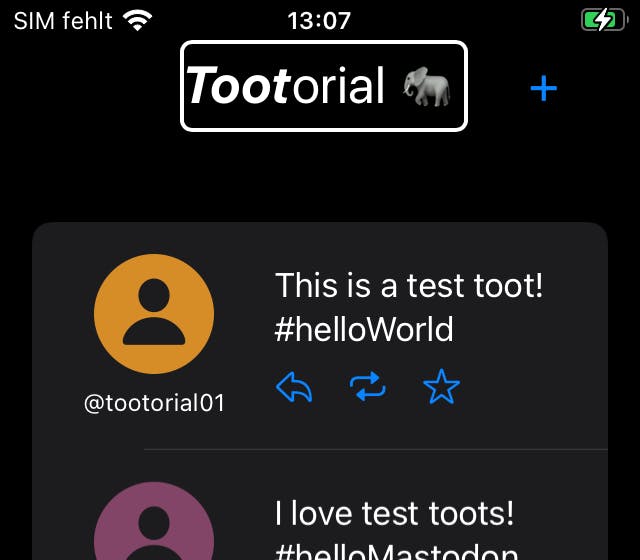
When you start VoiceOver, you will hear "Toot" and the focus will be on the "Toot" part of the word "Tootorial", like in this picture:
Swipe to the right and see/hear what happens. VoiceOver says "orial Elephant" and moves the focus to "orial 🐘". Well, that's not what we want, is it? It would be better if VoiceOver would just read "Tootorial". Let's have a look at the code and see how we can fix that. Right now, the code for the title looks like this:
HStack (spacing: 0) {
    Text("Toot")
        .bold()
        .italic()
    Text("orial 🐘")
}
.font(.title)
Improving the accessibility of the title
VoiceOver will identify every Text as an individual element and navigate to them individually. It also reads out the elephant emoji. Let's fix that. What do we need to do?
Combine both
Textelements into one elementAssign the correct label to the new element
Combining the two elements is simple. Check out the code again. The two texts are already grouped inside the HStack. So we can make the HStack an accessibility element. Just use the .accessibilityElement(children:) modifier for the HStack. For the children parameter, we could use two of the three options available. We'll give .combine a try. It will do what you would expect from the name and combine the containing elements into one. Run the app and start VoiceOver. VoiceOver will group both Text elements into one and read "Tootorial Elephant".
That's better than before. But I would prefer "Tootorial" without the "Elephant" part. No problem, just use .accessibilityElement(children: .ignore). Now all child elements are ignored. Of course, if we ignore all content (when it comes to the Accessibility API), we need to provide a new (custom) label. Accessibility labels are assigned using the .accessibilityLabel modifier.
HStack (spacing: 0) {
    Text("Toot")
        .bold()
        .italic()
    Text("orial 🐘")
}
.accessibilityElement(children: .ignore)
.accessibilityLabel("Tootorial")
.font(.title)
If you run the app again and start VoiceOver, you will hear "Tootorial". Tadaaa! 🎉 That's it. There is one little improvement we can make. .ignore is the default value for the .accessibilityElement(children:) parameter. So we can just update the modifier to .accessibilityElement() without any explicit parameters.
Conclusion
Assigning useful accessibility labels to your UI elements is one of the key practices when it comes to accessibility in your apps. There are a lot more examples in this sample app. Navigate through the app using VoiceOver and identify those elements. Good examples are buttons that just contain an icon (for example the "plus" button at the top, or the "reply", "boost" and "favorite" buttons on every toot.
It's not a lot, but it's super helpful. Take tiny steps and use this (new?) knowledge to improve the accessibility of your own/work apps.